
The Wife said YES!!
With it being the height of summer and the alignment of the tripod, then the polar align and work the next day, I was only getting about 45 minutes to an hour to configure the setup which really isn’t long enough. To reduce the amount of set-up time and hopefully give me a much better foundation moving forward I decided that I should have a concrete pier. The wife wasn’t so convinced but after agreeing to paint it and if she wanted to decorate the pier I could have one.
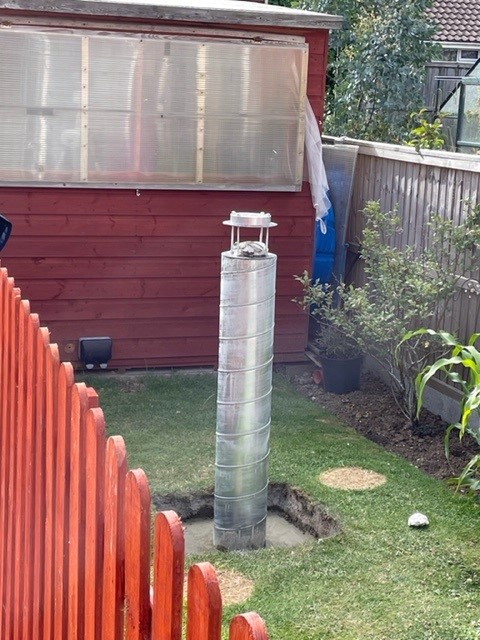
The pier consists of a massive hole around 2ft square with an unknown depth but it was deep, with some rebar running from the ground up the centre of the pier itself. Then filled with concrete. So much concrete, I used two bags of cement and around 12 bags of sharp sand plus some postcrete. At the top of the pier, I place 4 long threaded rods to attach the pier adapter. Two mild steel plates are fitted to the top, the bottom for aesthetic reasons and the second for levelling the adapter plate that I purchased from Altair Astro.
The pier was left for a week, covering it when it rained and uncovering it when it was sunny. Then the day came that I could fit the mount to the pier. It mostly went well but there wasn’t an azimuth stop pin included in the adapter and Altair Astro was out of stock. Altair Astro said I should remove the pin from the tripod but my tripod didn’t have a removable pin and the pin on the Celestron was the wrong thread. To resolve this I found a temporary solution that might just work, M10 Munsen Ring Extensions. Screwing two of these together then cutting to length and filing a flat edge on two sides seemed to work. When the correct part comes available I will order one, but for now, this seems to be doing the trick.